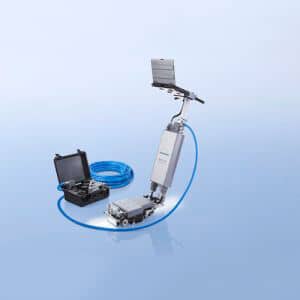
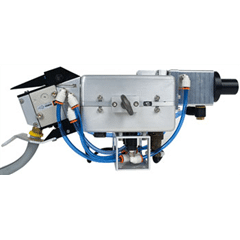
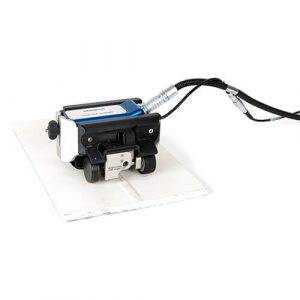
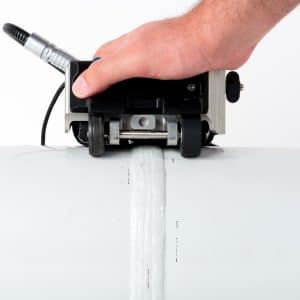
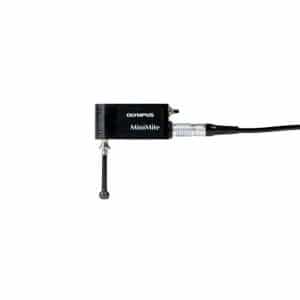
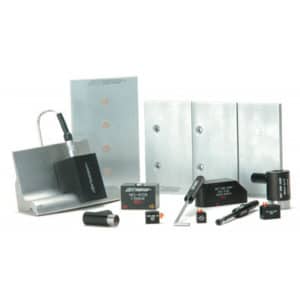
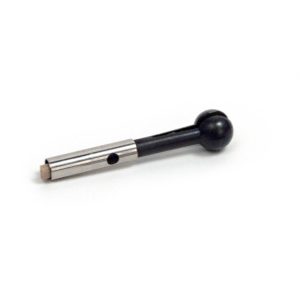
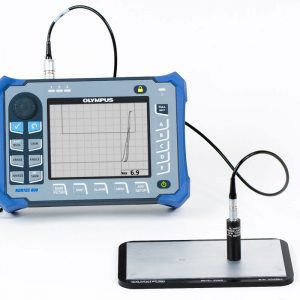
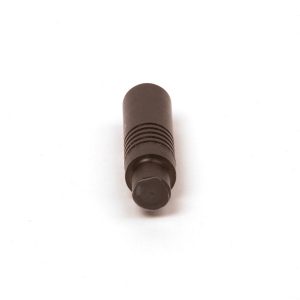
The MEC-Floorscanners are designed to cover the maximum inspectable areas of the shell including areas unreachable by other inspection systems and offer the following features and benefits in terms of defect assessment, integrity and monitoring support:
- High defect detection sensitivity for tank floors with
- plate thickness up to 30mm
- coating and composite thickness up to 10mm
- temperatures up to 150 deg C
- High inspection speed of approx. 25m/min with minimal surface preparation prior to inspection
- Ability to inspect stainless steel, carbon steel and non-ferromagnetic tank floors
- Ability to inspect lined and unlined tank floors
- Ability to detect corrosion at the overlap welds in lined tanks
- Minimal dead zone on the floor plates adjacent to the tank shell and floor plate overlaps with the ability to inspect almost straight to the tank shell.
- Differentiation between topside and underside defects through separate mapping
The MEC-Floorscanners offer the following advantages in comparison to the Saturation Low Frequency Eddy Current Floorscanners:
- More powerful magnetic unit
- Integrated hall sensor for immediate control of flux level
- Display to show flux level for the control of wall thickness range
- Fast magnet on/off switch
- Eddy Current electronics with single sensor pre-gain
- Data acquisition via TCP and with a standard rugged notebook
- Notebook can be mounted on the floorscanner control unit
- Power supply in an easy-to-carry Pelicase box
- Optional headset for communication
Due to its electromagnetic background, the Saturation Low Frequency Eddy Current technique on which the MEC-Floorscanners is based is often compared to the Magnetic Flux Leakage (MFL) technique. However the advantages of the Saturation Low Frequency Eddy Current technique against the MFL technique for the inspection of storage tank floors has proven to be multiple.
The table below shows the comparison between the two techniques.
| Saturation Low Frequency Eddy Current | Magnetic Flux Leakage | |
| Plate thickness | Up to 30mm | Up to 10 mm |
| Coating | Up to 10mm for any type of coating | Up to 2mm |
| Distinguish defects from false calls | Yes (by Signal Phase) | No |
| Distinguishing topside from underside defects | Yes (by Signal Phase) | No |
| Material magnetic properties | Allows tolerances | Have to remain constant |
| Defect detection sensitivity | From below 20% wall loss | From > 20% wall loss |
| Shape of corrosion | Relative independent | More dependant |
| Saturation level in parent material | Little influence as no saturation is required | Strong influence as saturation is required |
| Mapping | Yes (by Signal Phase)
Separate for topside and underside |
Limited |
| Inspecting close to the shell | Yes (by Signal Phase); Dead zone ~ 20mm | – |
| Speed | 20-30m/min, independent of speed change | 20-30m/min, influenced by speed change |
| Preparation prior to inspection | Low preparation and limited cleaning required | Higher preparation and cleaning required |
